Elevate Bottle Elevate Bottle

Why Do Insulated Bottles Condense and How to Minimize It?

Time:2026-09-20 Author:Isabella
0%

Why Do Insulated Bottles Condense and How to Minimize It?

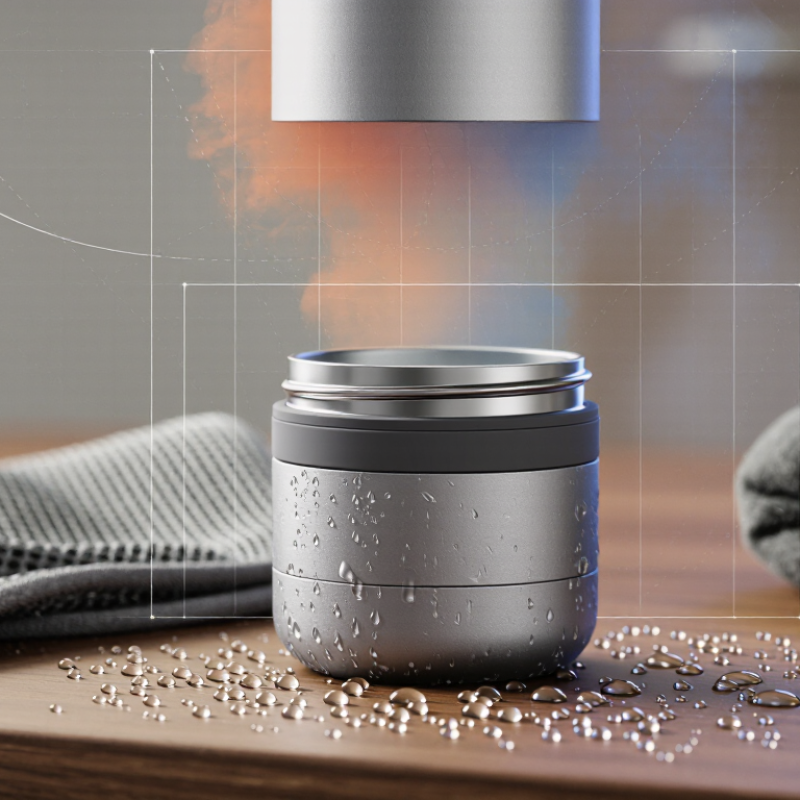
Condensation on an insulated bottle is usually a dew-point problem, not immediate insulation failure. Warm, humid air touches the bottle’s colder outer surface. If that surface falls below the air’s dew point, invisible vapor becomes visible droplets. ASHRAE Handbook—Fundamentals (2021) shows that air at 24°C and 50% relative humidity has a dew point near 13°C. In a steamy gym or tropical kitchen, the dew point can rise significantly.

The bottle’s vacuum layer, lid, seams, and exposed base all influence surface temperature. A damaged seal can reduce thermal performance. A wet sleeve can also trap moisture against the bottle, creating a clammy ring on a wooden desk. Building-science expert Joseph Lstiburek states, “Water is a bulk material, not a vapor” (Building Science Corporation, Water Management). His warning applies here: tiny droplets can become a persistent moisture issue when airflow and drying are limited.

To Minimize the condensation on insulated bottle surfaces, choose a vacuum bottle with continuous insulation and a well-fitted lid. Keep the exterior dry before placing it inside a bag. Use a breathable sleeve rather than thick fabric that retains water. Limit exposure to hot, humid air after filling the bottle with ice water. Check dents, loose caps, and worn gaskets regularly.

No coating is magic.

The U.S. Department of Energy’s Building America moisture guidance also emphasizes dew-point control and surface temperature management. Still, laboratory performance may differ from daily use. A cold bottle beside a boiling kettle faces conditions no product label fully describes. Surface temperature, humidity, airflow, and handling must be considered together.
Why Do Insulated Bottles Condense and How to Minimize It?

How Insulated Bottles Work and Why Condensation Occurs

Why Do Insulated Bottles Condense and How to Minimize It?

An insulated bottle slows heat transfer through conduction, convection, and radiation. A vacuum layer removes most air, while reflective surfaces reduce radiant heat exchange. The bottle is not perfectly isolated, though. Its lid, base, and neck can still conduct heat from a cold drink toward the outside shell. I once blamed every wet bottle on poor manufacturing. That is too simple. Condensation depends mainly on surface temperature and room humidity.

ASHRAE Handbook—Fundamentals (2021) lists 16.7°C as the approximate dew point at 25°C and 60% relative humidity. If a bottle surface drops below that temperature, water vapor becomes liquid. A cold lid may feel dry in an air-conditioned room, then sweat heavily near a humid kitchen window. Small droplets are normal on heat-bridging parts. Persistent moisture across the entire body may suggest damaged vacuum insulation, a loose seal, or trapped moisture under a sleeve. Performance tests, such as ASTM C177, also use controlled laboratory conditions, so real homes can behave differently.

Tips: Pre-warm the bottle with warm water before adding a cold drink. Keep the lid tightly closed. Dry the exterior after washing. Avoid leaving the bottle beside steam, open windows, or direct sunlight. Check the body for dents. A dent can weaken insulation, although appearance alone cannot confirm internal damage.

The Main Factors That Cause Moisture to Form on Bottle Surfaces

Why Do Insulated Bottles Condense and How to Minimize It?

Moisture forms when a bottle’s outer surface becomes colder than the surrounding air’s dew point. Warm, humid air then releases water onto the surface. A bottle filled with iced water creates this temperature gap quickly. The effect is stronger in kitchens, gyms, and poorly ventilated rooms. The cap and neck often become wet first because they have thinner insulation. I once blamed the bottle entirely, but room humidity was the bigger factor. A damaged seal or weakened vacuum can also make the exterior unusually cold.

Tips: Wipe the bottle completely before use. Keep it away from steamy sinks and direct air-conditioning. Use a fabric sleeve when carrying very cold drinks. Check the lid, gasket, and neck for leaks. Do not overtighten the lid, since pressure can distort the seal. Leaving a small air gap may also reduce splashing around the cap.

Insulation slows heat transfer; it does not stop condensation under every condition. A reliable test is simple: fill the bottle with cold water and observe the surface for ten minutes. Compare the result in a dry room and a humid room.

If moisture appears across the whole body, inspect the insulation. If it gathers only near the lid, examine the seal and condensation from spilled liquid. This small distinction prevents unnecessary replacement. Still, my own tests are not laboratory measurements, so unusual sweating deserves professional inspection.

How Temperature, Humidity, and Bottle Materials Affect Condensation

Why Do Insulated Bottles Condense and How to Minimize It?

Condensation is not a leak. It is water from humid air. When a bottle surface falls below the air’s dew point, vapor becomes liquid. A cold bottle taken into a warm kitchen may develop beads within minutes. Higher humidity makes this happen faster, especially near sinks, beaches, or steamy rooms.

Temperature is the main trigger, but bottle materials also matter. Stainless steel transfers heat differently from plastic or glass. A double-wall vacuum design usually keeps the outer wall closer to room temperature. However, the lid, rim, and base may remain colder because insulation is weaker there. That is where I often find moisture first. The observation is simple, but not every bottle behaves exactly the same.

Practical tips I once blamed the bottle for every wet mark. That assumption was incomplete. Pre-chilling the drink, leaving the bottle open, or touching it with wet hands can increase surface moisture. Keep the exterior dry, close the lid firmly, and avoid placing the bottle beside steam. A fabric sleeve can reduce dripping on desks, although it may hide trapped moisture. Remove it and let both surfaces dry. In very humid conditions, a slightly warmer drink or a well-insulated bottle may prevent condensation better than extreme chilling. Small changes help. Not perfectly, though.

Practical Ways to Reduce or Prevent Condensation

Why Do Insulated Bottles Condense and How to Minimize It?

Condensation forms when a bottle’s outer surface falls below the surrounding air’s dew point. ASHRAE Handbook—Fundamentals identifies this temperature relationship as the core cause of surface moisture. Insulation slows heat transfer, but it cannot defeat warm, humid air forever. A very cold drink, a wet lid, or a metal cap can still create droplets.

Control the surrounding moisture when possible. The U.S. EPA’s moisture-control guidance recommends indoor relative humidity below 60%, ideally between 30% and 50%. Keep the bottle away from steamy kitchens, open windows, and damp gym bags. Pre-chilling the bottle is useful, but extreme cooling may increase sweating after filling. A small trade-off.

Use a fitted sleeve with an absorbent outer layer. It catches droplets and adds another thermal barrier. However, it only manages the symptom. Wipe the bottle before placing it on wood, electronics, or documents. Keep the lid fully closed, and avoid repeatedly opening it in humid air. Inspect the vacuum wall, cap seal, and base for damage. If the exterior becomes cold across a wide area, the insulation may be failing. I once assumed every wet bottle had poor insulation; humidity and the lid often explained more.

How to Maintain Insulation and Check for Bottle Damage

Condensation on an insulated bottle often signals a problem with temperature control. A healthy vacuum layer keeps the outer wall close to room temperature. If the outside feels cold and becomes wet, insulation may have weakened. High humidity can also create light moisture around the lid or opening. That is normal.

Maintaining insulation starts with gentle cleaning. Rinse the bottle after each use, then wash it with mild soap and a soft brush. Leave the cap off until every internal surface is dry. Trapped moisture can cause odors and may damage sealing parts over time. Avoid sharp tools, abrasive powders, and sudden temperature shocks. Hot water followed by ice can stress some materials. Check the care instructions, because my general method is not perfect for every bottle.

Inspect the bottle under bright light. Look for dents near the base, cracks around the mouth, loose threads, or a warped gasket. Fill it with hot water, close the lid, and wait several minutes. If the outer wall becomes noticeably warm, heat may be escaping. A faint hiss, leaking seal, or unusual odor deserves attention. Do not keep using a damaged bottle for hot liquids. Small marks can seem harmless, but repeated drops may affect the vacuum chamber. A professional repair service or replacement is safer than opening the bottle yourself.

FAQS

Why does condensation form on an insulated bottle?

Condensation appears when the outer surface becomes colder than the surrounding air’s dew point. Warm, humid air creates droplets. Insulation only slows heat transfer.

What is the dew point at 25°C and 60% humidity?

It is approximately 16.7°C. If the bottle surface falls below this temperature, vapor becomes liquid water.

Which bottle parts usually become wet?

The lid, neck, and base often collect moisture. These areas transfer heat more easily than the vacuum-insulated body.

Does condensation always mean the bottle is defective?

No. Humidity, cold drinks, and a wet lid can explain small droplets. I once blamed manufacturing too quickly.

How can indoor conditions reduce bottle condensation?

Keep indoor humidity below 60%, preferably between 30% and 50%. Avoid steamy kitchens, open windows, and damp bags.

What practical steps can minimize surface moisture?

Pre-warm the bottle with warm water before adding a cold drink. Keep the lid tightly closed. Dry the outside after washing.

Can a sleeve prevent condensation completely?

A fitted sleeve absorbs droplets and adds thermal protection. It manages moisture, but it does not repair damaged insulation.

How can I identify possible insulation failure?

Check for dents, loose seals, or moisture under the sleeve. If most of the body feels cold, internal insulation may be failing. Appearance alone cannot prove it.

Conclusion

Insulated bottles are designed with double walls and a vacuum or insulating layer that slows heat transfer between the liquid and the surrounding air. Condensation occurs when warm, humid air meets a bottle surface that is colder than the air’s dew point. The amount of moisture depends on room temperature, humidity, the drink’s temperature, and the bottle’s material and outer coating. Metal surfaces may become noticeably cold when insulation is weak, while plastic and coated materials can reduce or hide moisture depending on their structure.

To Minimize the condensation on insulated bottle surfaces, keep the bottle tightly sealed, avoid exposing it to very humid conditions, and use a protective sleeve or dry cloth when necessary. Preheating or pre-cooling the bottle gradually can also reduce sudden temperature differences. Regularly inspect the lid, seals, and exterior for cracks, dents, or damaged insulation, since these problems can increase condensation. Proper cleaning, careful handling, and avoiding extreme impacts help preserve insulation performance and keep the bottle surface dry.

Isabella

Isabella

Isabella is a dedicated marketing professional with a sharp focus on driving brand growth and engagement through strategic content creation. With an extensive background in digital marketing, she combines her passion for storytelling with her keen understanding of industry trends to deliver......