Elevate Bottle Elevate Bottle

7 Best Ways to Optimize Vacuum Bottle Insulation Duration

Time:2026-10-15 Author:Sienna
0%

A vacuum bottle can keep coffee hot through a winter commute or water cold beside a sunny trail. However, its insulation duration depends on more than the label suggests. Bottle design, liquid temperature, fill level, lid quality, and surrounding conditions all influence performance. To Optimize the insulation duration of vacuum bottles, users need practical habits supported by basic thermal principles.

This guide explores seven reliable methods for improving heat or cold retention. It examines preheating, pre-cooling, proper filling, seal inspection, and careful lid handling. Each method is simple enough for daily use, yet small errors can reduce results noticeably. For example, pouring hot water into a cold bottle wastes energy before the journey begins. A loose cap can create an equally obvious problem.

Small details matter.

Real-world testing also requires honesty. A bottle tested in a warm kitchen may perform differently inside a freezing backpack. Manufacturers often measure insulation under controlled conditions, not during repeated opening, pouring, or shaking. Therefore, readers should compare methods under similar conditions and record temperature changes over time. A basic kitchen thermometer can reveal more than guesswork.

No bottle performs perfectly. Even good advice may need adjustment for different drinks, climates, and travel schedules. These recommendations combine everyday experience with dependable insulation practices, while recognizing that personal testing remains valuable. With careful preparation, users can extend temperature stability, reduce unnecessary reheating or chilling, and choose habits that match their actual routines.
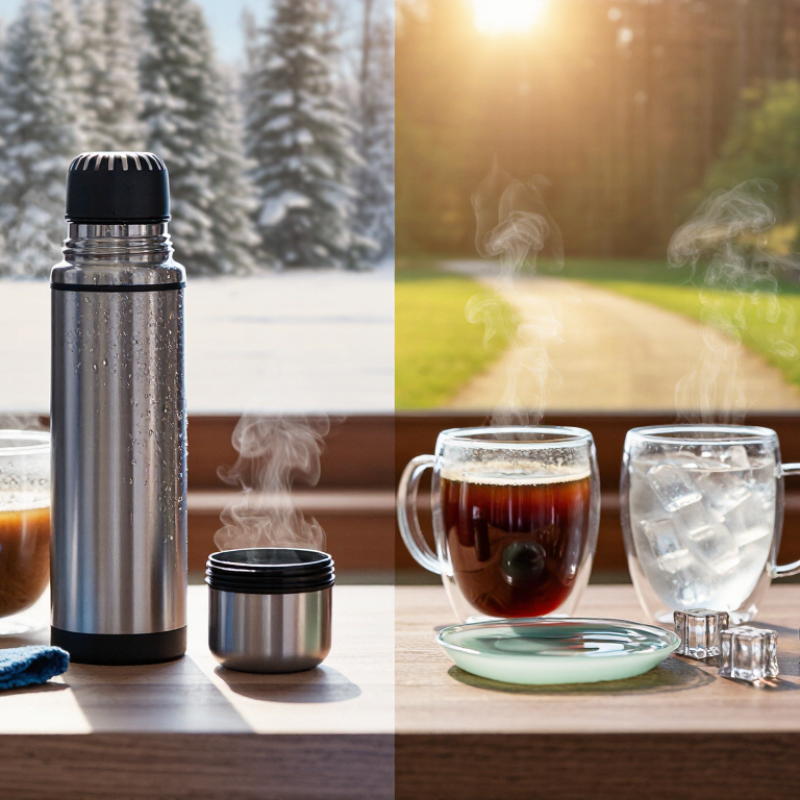
7 Best Ways to Optimize Vacuum Bottle Insulation Duration

Understanding How Vacuum Bottle Insulation Works

A vacuum bottle slows heat transfer through three routes: conduction, convection, and radiation. Its double walls contain a low-pressure space, leaving few molecules to carry heat. A reflective inner surface also sends radiant energy back toward the liquid. The lid remains a weaker point because it contains plastic, threads, and an opening mechanism. Preheating the bottle with hot water helps reduce early heat loss. For cold drinks, rinse it with chilled water first. Fill the bottle adequately, since extra air can exchange heat faster. Keep the lid closed whenever possible. Small habits matter.

Insulation duration also depends on the seal, liquid temperature, bottle position, and surrounding conditions. Check the gasket for cracks, residue, or flattening, then clean and dry it carefully. Store the bottle upright to reduce leakage around the closure. Avoid leaving it beside a sunny window, heater, or warm car seat. A protective sleeve may limit external temperature changes, though it cannot repair weak insulation. Use a wide opening only when cleaning or adding ice; frequent opening releases trapped warmth or cold. In practical use, filling a bottle with boiling liquid may not improve performance and can create handling risks. A very full bottle may also spill when opened. Manufacturer time claims are controlled estimates, not promises for every commute or hiking trip. I have found that wind, repeated sipping, and a partly filled bottle shorten performance noticeably. The physics is dependable, but daily use is less tidy.

Choosing Materials That Extend Heat and Cold Retention

A vacuum bottle keeps temperature longer when its materials limit conduction, radiation, and heat transfer through the lid. Stainless steel is a dependable inner wall because it resists impact, corrosion, and repeated washing. Food-grade 304 stainless steel suits most daily use, while 316 offers stronger corrosion resistance in demanding environments. However, thicker metal alone does not guarantee better insulation.

Copper can improve thermal performance because it conducts heat quickly across reflective layers. Used correctly, it helps reduce radiant heat loss instead of carrying heat toward the outer surface. A thin aluminized film may also reflect infrared energy inside the vacuum space. The vacuum gap remains critical. Even excellent materials perform poorly when the gap is shallow or contains residual air.

The lid often decides the real retention time. Silicone gaskets should remain flexible, seal evenly, and tolerate temperature changes. Polypropylene or similar heat-resistant plastics can reduce heat transfer through the cap. In practical testing, fill the bottle with hot or cold water, record the starting temperature, and check it after six and twelve hours. Small leaks become obvious.

No material is perfect. Metal can dent, glass can break, and silicone eventually ages. I would rather choose a well-sealed bottle with balanced materials than trust impressive insulation claims. Washability matters too, because residue around the gasket can weaken the seal and shorten retention.

Preparing the Bottle for Maximum Insulation Performance

A vacuum bottle performs best when it starts clean, dry, and undamaged. Wash the interior with warm water and mild dish soap, then rinse away every trace of residue. Odors and old particles can affect taste and may interfere with the sealing surface. Let the bottle air-dry completely. Moisture left around the lid can weaken the seal.

Preheat the bottle before adding a hot drink. Fill it with hot tap water, close the lid, and wait for five minutes. Empty it carefully, then pour in the beverage immediately. For cold drinks, use chilled water instead. This simple step reduces the temperature shock between the liquid and the inner wall. Do not fill beyond the recommended line, because pressure and leakage may increase.

Inspect the gasket and lid threads before every long trip. A twisted gasket can release heat faster than expected. I once ignored a slightly loose lid and found lukewarm coffee after two hours. That mistake changed my routine. I now check the seal by turning the closed bottle upside down over a sink. It is not a laboratory test, but it reveals obvious leaks. Avoid placing the bottle in direct sunlight, and keep the lid closed between pours. Even excellent insulation loses performance through frequent opening.

7 Best Ways to Optimize Vacuum Bottle Insulation Duration

Preparing the Bottle for Maximum Insulation Performance

The chart compares the relative heat retained after 8 hours when preparation practices are added step by step. Preheating the bottle, filling it close to capacity, sealing it immediately, and limiting opening frequency reduce avoidable heat loss. Actual performance varies with bottle design, liquid volume, starting temperature, ambient temperature, and lid usage.

Using Filling and Sealing Techniques to Reduce Heat Loss

A warm drink can lose heat before the lid is tightened. Preheat the bottle with hot water for three minutes, then empty it. This warms the inner wall and reduces the first temperature drop. Fill slowly, keeping the stream close to the wall to limit splashing and air mixing. Leave the recommended headspace. Too much empty space means more air to warm, while overfilling can weaken the seal.

Seal the bottle immediately after filling, not after preparing breakfast. Wipe the rim and threads completely dry. A single droplet can create a leakage path or make tightening uneven. Press the gasket flat, then tighten until firm. Excessive force may distort soft sealing material. I once blamed weak insulation when a twisted gasket was the real problem. That mistake still shapes my inspection routine.

For dependable results, record the liquid temperature at filling and after six, twelve, and twenty-four hours. Use the same liquid volume and room temperature during every trial. Compare results only after checking the cap, gasket, and fill level. Small differences matter. A bottle may perform well in one test but poorly after repeated washing or a slightly loose closure. Testing becomes less tidy, but more honest.

7 Best Ways to Optimize Vacuum Bottle Insulation Duration - Using Filling and Sealing Techniques to Reduce Heat Loss
No. Optimization Method Recommended Practice Key Technical Target How It Reduces Heat Loss Recommended Verification Priority
1 Improve the Vacuum Level Evacuate the space between the inner and outer walls after assembly, then verify that the vacuum remains stable during production and aging tests. Target: approximately 10-3 to 10-2 mbar, where the design and materials permit. Suppresses gas conduction and convection across the insulation gap. A lower residual gas pressure generally improves insulation, provided leaks and outgassing are controlled. Helium leak testing, vacuum measurement, and thermal-retention testing after aging. Very High
2 Preheat or Precool the Bottle Rinse with hot water before adding a hot beverage, or with cold water before adding a chilled beverage. Empty the conditioning water before filling. Use conditioning water close to the intended beverage temperature; avoid adding ice or boiling water directly to a cold bottle when rapid temperature change is undesirable. Reduces the initial temperature difference between the beverage and the bottle walls, lowering the first-stage heat transfer. Compare temperature decay with and without a 1–3 minute conditioning step. High
3 Optimize Fill Volume and Headspace Fill to the manufacturer’s safe fill line and minimize unnecessary headspace while allowing room for expansion and safe closure. Keep the remaining headspace consistent for every test; do not overfill or block the sealing interface. Less empty volume limits internal air movement and reduces the amount of gas that can exchange heat. Consistent fill volume also improves repeatability. Record fill mass or volume, liquid temperature, and headspace for each sample. High
4 Control Filling Temperature Fill the bottle promptly after the liquid reaches the specified test temperature. Use the same transfer time and filling sequence for every unit. For hot-retention testing, a common reference condition is 95 ± 2°C; for cold-retention testing, define a fixed starting temperature such as 5 ± 1°C. Reduces variation caused by different starting temperatures and prevents avoidable heat loss during a long filling operation. Measure the liquid temperature immediately before filling and immediately after sealing. High
5 Improve the Closure Seal Use a clean, undamaged gasket; apply uniform closing force; ensure the threads, sealing surfaces, and drinking spout are properly aligned. Verify leak-tightness with a pressure, vacuum, or inverted-leak test suitable for the closure design. Prevents air exchange, liquid leakage, and vapor escape. A poor seal can create a direct path for convection and evaporative heat loss. Perform leak testing after repeated opening-and-closing cycles and thermal cycling. Very High
6 Reduce Heat Bridges at the Neck and Base Minimize the cross-sectional area of solid supports and use low-conductivity materials where structurally appropriate. Keep the neck and base geometry consistent. Measure localized surface temperatures around the neck, cap, shoulder, and base; investigate any hot or cold spot that is significantly different from the main wall. Solid components can conduct heat even when the main wall has a strong vacuum. Reducing their conductive area lowers parasitic heat transfer. Use infrared thermography or thermocouples during a controlled retention test. High
7 Limit Radiative Heat Transfer Use a clean, continuous low-emissivity reflective surface on the vacuum-facing side of the inner or outer wall, without scratches, contamination, or gaps. Maintain a low-emissivity surface; polished metallic surfaces commonly provide lower emissivity than untreated oxidized surfaces. Reduces infrared radiation across the vacuum gap, which remains a heat-transfer mode even when gas conduction is very low. Inspect the reflective layer visually and compare emissivity or thermal-retention results before and after surface treatment. Medium–High
Testing note: Thermal-retention results depend on bottle capacity, wall construction, closure design, fill volume, starting temperature, ambient temperature, measurement position, and test duration. For meaningful comparisons, use the same liquid, fill mass, starting temperature, ambient condition, closure torque, and measurement interval for every sample.

Maintaining Vacuum Bottle Efficiency Over Time

Maintaining vacuum bottle efficiency requires protecting both insulation and user habits. Preheat it with hot water, or pre-cool it with ice water, for five minutes. Then fill it promptly. Keep it closed. A fuller bottle usually has less empty air and slower temperature change. Avoid repeated sipping during long storage; each opening exchanges warm air with the bottle’s interior.

Inspect the lid gasket every few weeks. Small leaks matter. A flattened seal can reduce performance before damage becomes visible. Wash the threads and sealing channel with a soft brush, then dry every part completely. Do not use abrasive tools, because tiny scratches can collect residue and weaken the seal. Store the bottle uncapped overnight. This reduces odor and helps prevent moisture around the closure.

The U.S. Department of Energy’s insulation guidance explains that insulation limits conduction, convection, and radiation. Its technical data on vacuum insulation panels reports roughly R-25 to R-30 per inch, although a bottle cannot be judged by panel values alone. ASTM C518 heat-flow testing also shows why measurement conditions matter: temperature difference, contact pressure, and test time can change results. Compare performance under the same conditions. One practical method is checking the liquid after six and twelve hours with a calibrated thermometer. I have found this more useful than trusting touch alone. A bottle may feel cold while the drink remains warm. One weakness remains: cleaning routines are often inconsistent. Measure, then adjust.

FAQS

Which materials help a vacuum bottle retain temperature longer?

Stainless steel provides a durable inner wall. A vacuum gap limits heat transfer. Copper or reflective film may reduce radiant heat loss. Materials work together.

Is thicker metal always better for insulation?

No. A thicker wall does not guarantee longer retention. The vacuum gap and lid seal often matter more. I used to overlook that.

What should I check in the lid?

Inspect the gasket, threads, and sealing surface. The gasket should lie flat and remain flexible. Wipe away moisture and residue.

How should I prepare the bottle for a hot drink?

Rinse it clean and let it dry completely. Fill it with hot tap water for five minutes. Empty it, then add the drink immediately.

How can I prepare the bottle for a cold drink?

Use chilled water before adding the beverage. This reduces temperature shock inside the bottle. Keep the lid closed afterward.

How full should the bottle be?

Follow the recommended fill line. Excess empty space gives air more room to warm. Overfilling may increase pressure and leakage.

How can I reduce heat loss while filling?

Fill slowly with the stream close to the inner wall. Avoid splashing and unnecessary air mixing. Seal the bottle immediately.

How can I test temperature retention honestly?

Record the starting temperature and liquid volume. Check the drink after six, twelve, and twenty-four hours. Repeat under similar room conditions.

What common mistake can weaken insulation?

A twisted gasket can release heat quickly. A tiny drop on the rim can also prevent even tightening. Check the closure over a sink.

Does frequent opening affect performance?

Yes. Each opening releases retained heat or cold. A well-insulated bottle still loses performance during repeated pouring. That part is easy to underestimate.

Conclusion

Vacuum bottles retain temperature by using a low-pressure space between their walls to reduce heat transfer through conduction and convection, while reflective surfaces can limit radiant energy loss. To optimize the insulation duration of vacuum bottles, choose durable materials with strong thermal resistance, prepare the bottle by preheating or pre-cooling it, and avoid opening it unnecessarily. Selecting the right capacity also helps, since a fuller bottle generally has less air space and may maintain temperature more effectively.

Filling the bottle carefully, leaving minimal empty space, and securing the lid firmly can further reduce heat exchange. Avoid sudden temperature shocks, rough handling, and abrasive cleaning methods that may damage the vacuum structure. Regularly inspect the lid, seal, and exterior for cracks, deformation, or leakage. With suitable materials, proper preparation, efficient filling and sealing, and consistent maintenance, a vacuum bottle can provide reliable hot or cold retention for a longer period.

Sienna

Sienna

Sienna is a skilled marketing professional with a deep expertise in our company’s core products and services. With a passion for innovation and detail, she plays a pivotal role in crafting insightful blog posts that not only highlight the unique features of our offerings but also provide valuable......